There are a lot of things the instructor can control within assignment Settings. This is where you can assign settings to ALL of your quizzes and tests in one location (there are no settings for Practice assignments).
Note: If you'd rather add settings to individual assignments within the course outline, please read this article.
Follow the steps below for assignment Settings:
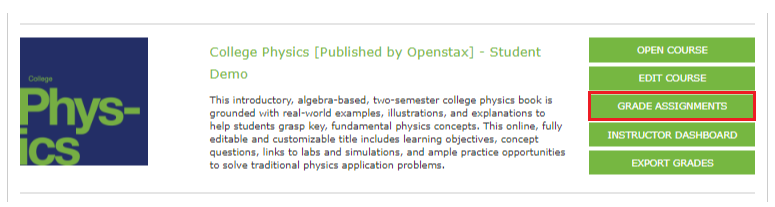
- Click on Grade Assignments
- Now click on the Settings tab
On the top you have some general controls:
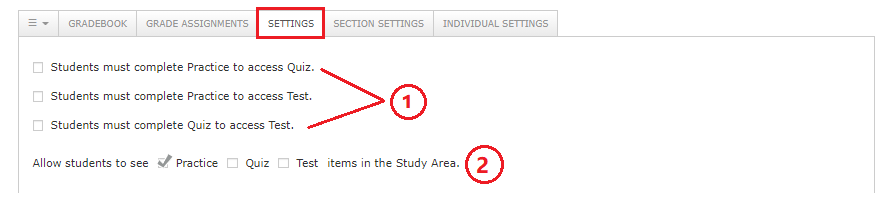 1. You have control over whether or not students are able to do Quizzes or Tests before completing Practice assignments within a particular section. You may also make sure that students attempt a Quiz before they attempt a Test within the same section.
2. Your students will have a study area where they can see and practice all questions from previously submitted assignments. Instructors have control over whether students can see these questions within the student study area. See this article to learn more about the Study Area.
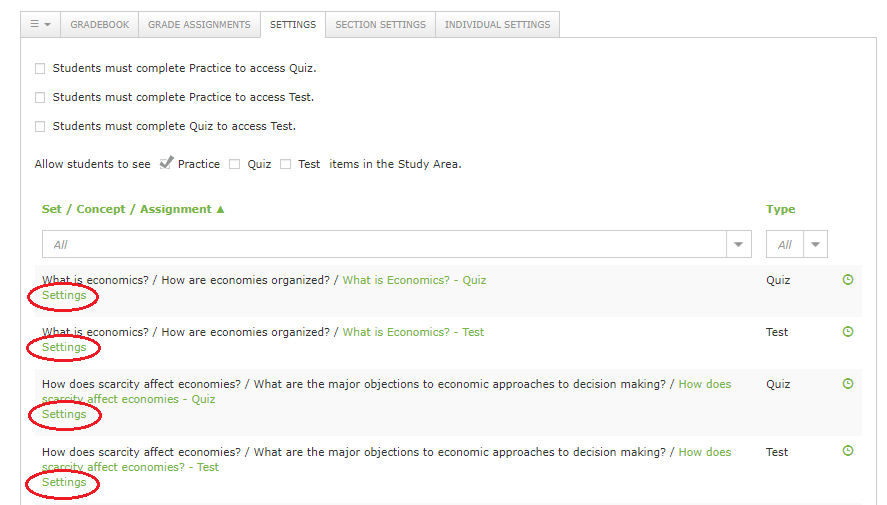
Now you can add settings for one or more Quiz or Test located in your course. By default you will see a list of ALL quizzes and tests in your course and you may add settings to any or all of the assignments. However, you may search for an individual assignment by utilizing the drop down menu to locate the Concept where the assignment is located, or you may search by assignment Type.
In order to see the Settings options for an assignment, click on the word "Settings" below the assignment name in order to expand the setting options.
Now you have access to add the following settings to an individual assignment.
The following is a description of each setting area:
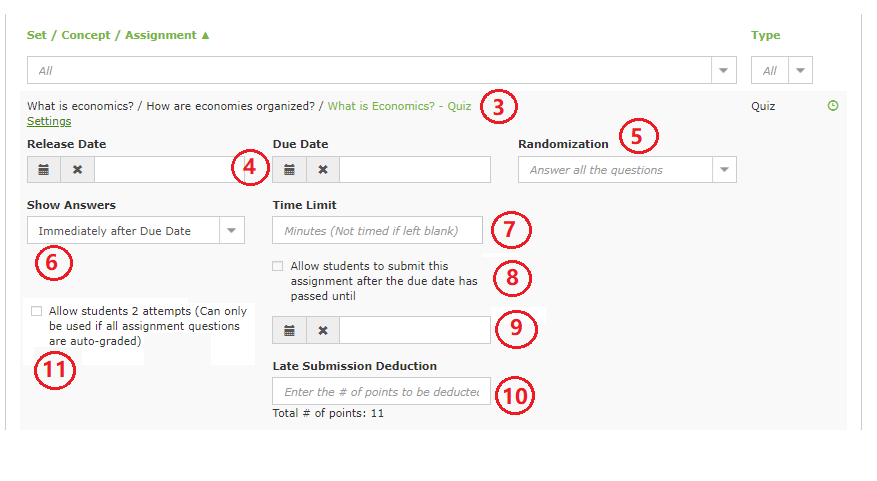
3. This is the title of the assignment (quiz or test) that you can apply certain settings to. You may click on the assignment name in order to go to the assignment.
4. You may add Release and Due Dates here. You MUST choose a date AND time for this section to populate.
5. You may choose to randomize the test so that students get the questions in a different order from each other. You also have the option to show a certain number of questions from the assignment to each student so that each student potentially has a different assignment. Please read this article for more on Randomization.
6. You have control over when students may see answers to an assignment. You have several options (see below). The default setting is "Immediately after the Due Date".

7. You may add a time limit (in minutes) to assignments. If you leave this blank, there will not be a time limit applied to the assignment. If you have students with accommodations who require additional time on assignments. please read this article.
8. You may allow students to submit an assignment after the due date by checking the box to the left of the word "Allow".
9. You may choose a date to limit how long an assignment can be submitted. If you leave that date box blank, students may submit the assignment whenever they want.
10. You may apply a penalty to an assignment that is submitted after the due date. Enter the point penalty in the given box. Notice that the assignment's total number of points available is listed under the penalty box.
11. You may allow students to have two attempts on quizzes (this option is not available for tests).
Note: This last option is not available for assignments that include instructor graded questions.
Read this article to learn more about assignments.